Saturday, January 31, 2015

Potted Primrose ~ Power Poppy


 http://powerpoppy.com/products/potted-primroses-stamp-set
Hello creative friends!!  I'm back today with another project featuring a stamp set by Power Poppy called Potted Primrose.  When my kids were little and I didn't spend as much time in my studio, I had two large planter boxes (built by my dear hubby) along the side of our front entry.  And each year I would adorn those boxes with a variety of primroses.  They have to be one of my favorites.  Okay, I say that way too often about too many flowers.  I guess I'd have to say they are one of my favorites for their season.  I love their vibrant colors!

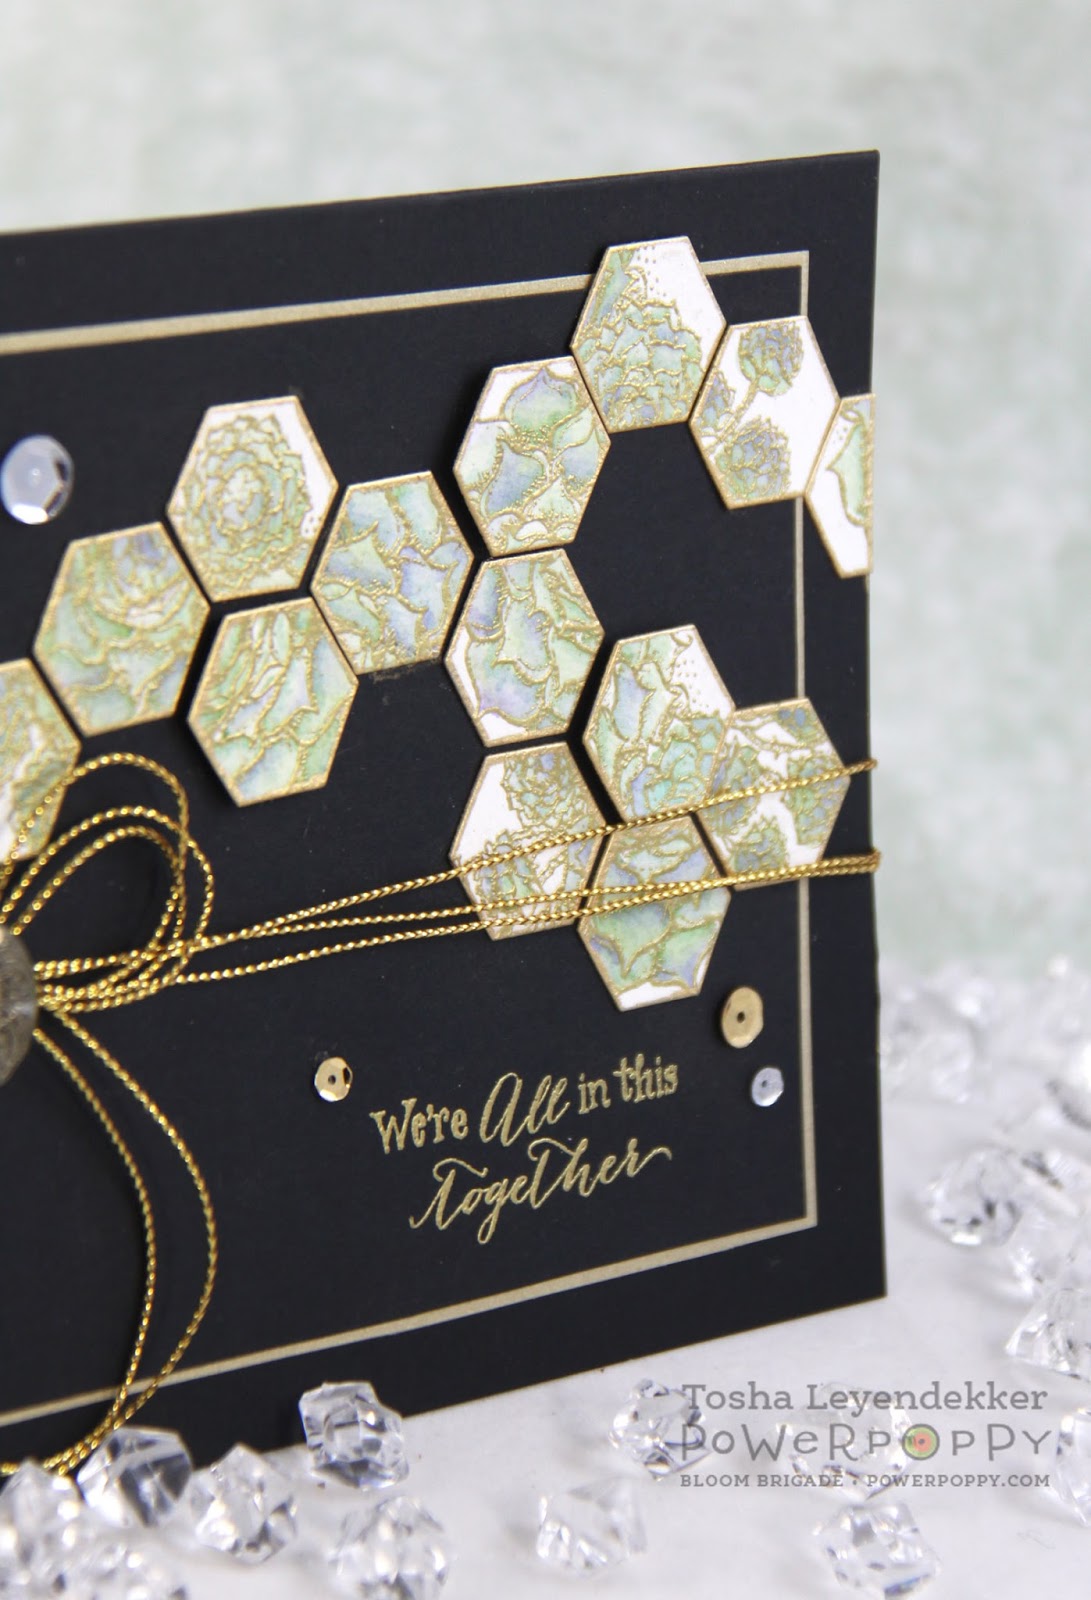
I thought it would be fun to color them a periwinkle type of hue or blue-violet.  (Everyone has their different ways of looking at colors.)  Anyway, they're colored with Copics, cut out and mounted with dimensional tape onto this beautiful Miss Caroline dp by My Mind's Eye.


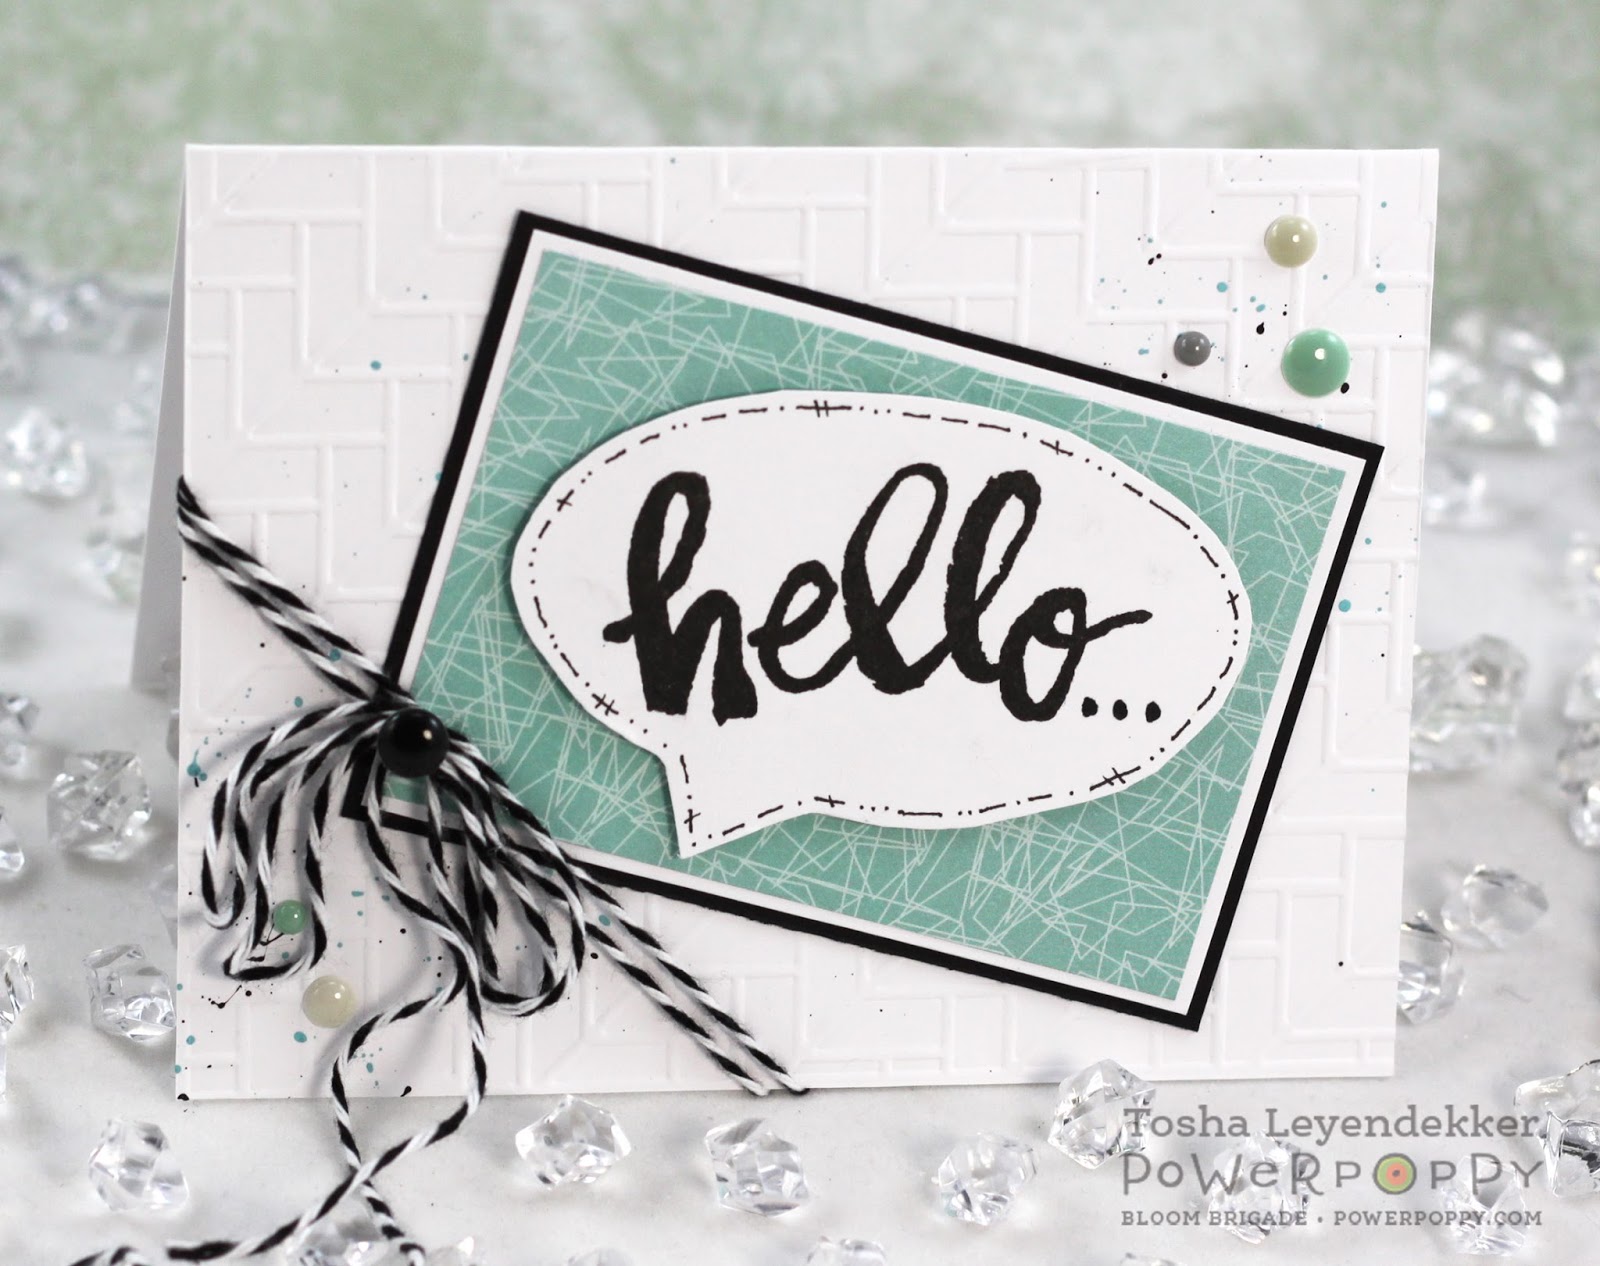
I added a sentiment to the corner and traced over it with a silver Wink of Stella (Zig) pen to give it a little extra sparkle.  There's some glitter in the flower centers too that I added using a Quickie Glue Pen and some Hero Arts Prisma Glitter.

I have to tell you really quickly about a fabulous new tool I actually got to try at CHA a few weeks ago.  It seems really simple, but my goodness...it's a huge time saver for me.  It's called Crystal Katana and it's by Crystal Ninja.  It is incredible!!  It has a wax tip on one end, and a fine metal tip on the other.  The wax tip picks up and releases beautifully; every single time.  And the fine metal tip really helps with moving the pearls or crystals to their desired locations, along with pressing the gems firmly into the glue.   I've tried other "tipped" tools, but never liked them, and would resort to fighting with my tweezers instead.  So this tool is a must have for me!!!  Okay, back to my Power Poppy post...

That sums up my project for today, for more incredible inspiration, check out what these Bloom Brigaders have to share:
Copics:  BV04, BV34, BV31, G28, G46, G24, YG23, YG21

  Tomorrow all these Power Poppy sets will be available to purchase!!  Woo-Hoo!!!!

      Happy Stamping!

________________________________________________________________

StampsPotted Primrose (Power Poppy)
Paper:  Miss Caroline (MME), Cryogen White, (AC)
Ink:  Tuxedo Black (Memento), Onyx Black (Versafine), Pumice Stone (Ranger)
Dies:  Standard and Picot Edge Circle and A2 Curved Borders (Spellbinders)
Accessories:  Copics, Flat back Pearl (Wild Orchid Crafts), Rhinestone Circle Slider, Quickie Glue Pen, Prisma Glitter (Hero Arts), Silver Wink of Stella Pen (Zig), Soft White Satin Ribbon (Paper Source) 

Friday, January 30, 2015

Big Scripts ~ Power Poppy


Hello friends!!  I'm so glad you stopped in again today.  The Power Poppy Bloom Brigade is featuring Big Scripts today that are all handwritten by Marcella herself.  They are super fun and can add just the right amount of punch to any project.  Now, I stepped WAY OUT of my comfort zone today and went with a CAS graphic feel.  I tell you, these cards take me a ton more time to make than my detailed vintage ones.  Seriously.  I am happy with how this simple little "hello" turned out though.  

http://powerpoppy.com/products/big-scripts-stamp-set
I decided a conversation bubble would be kind of fun as a frame, so I created one in Word, printed it out on copy paper, cut it out and traced it onto cardstock...only because my printer HATES heavy card stock.  It has quite the attitude and spits it out at me every time.  The nerve...I tell ya!  After stamping "hello" in the bubble, I just added a bit of doodling around the border.

Lastly, I splattered some acrylic paint in the background, embossed it with a Sizzix embossing folder and added some Twine and Enamel Dots.

Now, for some more exciting inspiration, check out these Bloom Brigade Blogs:
That's it!  Easy Peasy, with a sweet little "hello".

Since it's Friday, it's also Power Poppy Peeps Challenge.  I hope you'll find some time to participate.  Here's a link for all the info on how to participate.

   Happy Stamping!

_____________________________________________________________

StampsBig Scripts (Power Poppy)
Paper:  Creative Agenda (EP), White and Black (PTI)
Ink:  Onyx Black (Versafine)
Accessories:  Embossing Folder (Sizzix), Enamel Dots (MME), Twine, 0.1 Copic Multi Liner 

Thursday, January 29, 2015

Short Stacks ~ Power Poppy


http://powerpoppy.com/products/short-stacks-stamp-set
Hello again friends!  Today the Power Poppy Bloom Brigade is hoping to inspire you with peeks of a set called Short Stacks.  It's a charming set with a variety of images in a collage setting.  They are absolutely A-D-O-R-A-B-L-E!!  I had a hard time picking which image to color first.  Seriously!  Well, I am a bird-aholic, and I collect coffee mugs, so I thought I would start with the Parakeet (budgie) image.  Isn't it lovely?  I colored it with Copics and layered it with a few Spellbinders dies.  I then added a sentiment banner along the top.

Here's a closer look at the sentiment.  I kind of sewed over the letters....oops...but it says "Enjoy life Sip by Sip"...I'm all for that!  Coffee, Tea, Cocktails...Oh yeah!


That sums up my card for today.  Here are the links to the Bloom Brigade Blogs with peeks to share today:
Copics:  BG13, BG11, BG10, C7, C6, C5, C3, C1, C0, Y26, Y02, YR02, YR61, YR00, YR000, E01, E00 

Happy Stamping!
_________________________________________________________________

StampsShort Stacks (Power Poppy)
Paper:  Delight (Prima), Vintage Cream (PTI)
Ink:  Tuxedo Black (Memento), Antique Linen and Pumice Stone (Ranger)
Dies:  Classic, Elegant and Floral Ovals (Spellbinders)
Accessories:  Copics, White Sharpie, Stick Pins (Petaloo and Wild Orchid Crafts), Pearls (Pizzazz Aplenty), Flower Button (Haberdashery), Sewing Machine, Foam Tape (EK Success), Ribbon Fringe (Melissa Frances), Seam Binding (prairiebirdboutique - Etsy)

Wednesday, January 28, 2015

Good Thinking: Love Notes ~ Power Poppy


Did you enjoy the show of Power Poppy Orchids yesterday?  Aren't they gorgeous?  Marcella really knows how to give them life in her designs, which makes coloring them super fun.  Well, today we're featuring a different type of set full of loving sentiments, hearts and arrows.  It's called Good Thinking: Love Notes.

http://powerpoppy.com/products/good-thinking-love-notes-stamp-set
I decided to make my own pattern for the bottom of my card using the crossed arrows and itty-bitty heart.  To give the bottom a more quilted feel and look, I laid the paper on a piece of foam and scored the arrows with a fine tipped stylus.  I then turned it over and with a larger stylus, I burnished the paper between the lines, causing it to pillow on the front.

I then added an embossed top portion, along with a banner using one of the included sentiments and the larger heart.  I wanted this card to somewhat masculine, so there are no extra frills.

That's it for today's project.  For tomorrows preview, I went vintage.  I hope you'll drop by.

Here's a list of the Bloom Brigaders who have projects to share today.
Happy Stamping!
________________________________________________________________________

StampsGood Thinking: Love Notes (Power Poppy)
Paper:  White and Smokey Shadow (PTI)
Ink:  Turquoise Gem (VersaMagic), Love Notes (Memento), Smokey Gray (Versafine)
Accessories:  Embossing Folder (Cuttlebug), Stylus, Velvet Ribbon, 1" Corner Rounder (EK Success) 

Tuesday, January 27, 2015

Orchids Rock! ~ Power Poppy


Hello, hello, hello!!  Hope y'all are having a fantastic week!!  Well, I've got a variety of projects to share with you this week, and I can't wait to get started!  Power Poppy is releasing 5 new sets on Feb. 1.  That's right, 5!!!  And let me tell you, they...are...INCREDIBLE!!  We're starting the peeks with a phenomenal set called Orchids Rock, and this set is sooooo versatile. Orchids can be almost any color and they all have their own distinct patterns.  So you can let your imaginations flow!!  

http://powerpoppy.com/products/orchids-rock-stamp-setI was feeling the golden orange hues for this project, and I may, or may not have a blue/silver one to share with you later....shhhhhhh  I just "fussy-cut" these babies, scored around the petals on the front side, turned the image upside down, and burnished the back.  They have a lot of texture and just pop irl.  I only glued down the flower centers and the stems so the flowers themselves have a little more depth to them.

That's it for my project for today.  Be sure to stop by tomorrow for a patterned CAS card.  I had a lot of fun creating that one!!

If you haven't already...you will want to check out what the rest of the Bloom Brigade has created.  So I've included the links for ya.  Be sure to stop by the Power Poppy Blog too.  Marcy always has some delicious nuggets to share.
Copics: Flower: R59, YR18, Y19, Y02, Y0000, 0 Leaves: G29, YG67, YG17, YG03 Stake: E25, E55

    Happy Stamping!!


________________________________________________________________________

StampsOrchids Rock (Power Poppy)
Paper:  Fresh (Authentique), Cryogen White, White (PTI)
Ink:  Tuxedo Black (Memento), Smokey Gray (Versafine), Pumice Stone (Ranger)
Dies:  Classic Ovals (Spellbinders)
Accessories:  Copics, Scallop Border Punch (EK Success), Ribbon (SU!), Sequins (Pretty Pink Posh and Hazel & Ruby), 

Friday, January 23, 2015

Power Poppy Geraniums meet Hemptique Handmade Paper


Hello friends!  It's Friday already and we're over half way through January.  Does it feel like time is flying by to you?  There's so much I want to do, and I feel like there's just not enough time to get it done.  *sigh*

http://powerpoppy.blogspot.com/

I was able to use some new papers for this week's Power Poppy Peeps challenge though, and it was super fun.  While at CHA earlier this month, I saw a handmade paper company called Hemptique.  There was a watercolor demonstration going on, and the colors were absolutely brilliant on the paper.  They blended beautifully and were so striking.  Well, I happened to get some samples of the paper and couldn't wait to try them out.  This piece is for Fine Art and Printing, is non-aging and light-fast, is 250gsm and was already antiqued.  So, I just embossed the Power Poppy Geranium image with Black embossing powder and started watercoloring.  Now, I'm not a professional when it comes to coloring by any means, but I had a blast laying down the original color and adding others as they dried.  And this is what I came up with.

That sums up my card for today.  Now if you haven't already, you should really drop by the following Bloom Brigade Blogs.  These gals are never short on inspiration.

 Here's a list of the Tombow Markers I used: 837, 679, 098, 177, 373


   Happy Stamping!
_________________________________________________________

StampsGeraniums Take Two (Power Poppy)
Paper:  Engraver (Prima), Hemptique, Smokey Gray and Kraft (PTI)
Ink:  Versamark, Black Soot and Vintage Photo (Ranger)
Accessories:  Tombow Markers, Black Embossing Powder (JudiKins), Vintage Lace, Trinket Pin (Tim Holtz), Button (PTI), Fibers, Sewing Machine, Distrezz-it-All (Zutter)

Wednesday, January 21, 2015

The Heart has its Reasons


Hello friends!  I recently had the privilege of attending CHA in Anaheim and had the opportunity to catch up with some treasured friends, along with meeting new, incredibly gifted people.  My friend Becca Feeken designs for Quietfire and introduced me to Suzanne Cannon who owns and designs for Quiet Fire Rubber Stamps.  All her lettering stamps are from hand-lettering done by Suzanne: no fonts.  They're deeply etched, are cling foam mounted, and stamp evenly with beautiful detail.  Her calligraphy is extraordinary and she just happens to be the absolute sweetest person too.  So it is with great honor that I am blessed to use this design called "The Heart has its Reasons" (Quietfire).  

This stamp is so beautiful and elegant that I wanted to give it a worthy framing, so I chose two Spellbinders dies to do so: 5x7 Mystical Embrace and Resplendent Rectangles.  I die cut the frames and edged them with a Silver Leafing Pen by Krylon.  I also added a few Pearls (Pizzazz Aplenty), a sweet little Butterfly (littlescrapshop-etsy), some Seam Binding (prairiebirdboutique-etsy), and a handmade flower I made using the Spellbinders die Blooms Three.


Here's a close up of the flower.  It was die cut with White cs (PTI), spritzed with water and crinkled up a bit.  When it dried, I added some white Liquid Applique to the edges and while it was still wet, I sprinkled on some String of Pearls Glitter (Vintage Sparkle by Advantus Corp.) and heat it with my heating tool when it dried.  Imagine Crafts has come out with a fabulous similar product called Amplify!  From what I understand, you don't even have to wait for it to dry.  That so appeals to this impatient paper crafter.  I saw their display at CHA, and now have an order placed.  Can't wait to experiment with it.

That about sums up my project for today.  I hope you'll check out Quietfire Rubber Stamps.  They are beautiful stamps to work with.

Thank you Suzanne!

Happy Stamping!

_______________________________________________________________

StampsThe Heart has its Reasons (Quietfire)
Paper:  White (PTI)
Ink:  Onyx Black (Versafine)
Dies:  5x7 Mystical Embrace, Resplendent Rectangles, and Blooms Three (Spellbinders)
Accessories:   Silver Leafing Pen (Krylon), Seam Binding (prairiebirdboutique), Butterfly (littlescrapshop), White Liquid Applique (Marvy), Pearls (Pizzazz Aplenty), Silver Tinsel String, Dimensional Tape,
 

Friday, January 16, 2015

Power Poppy January Digital Release ~ La Vie en Rose


Howdy friends!!  It's been a long time!  Like many of you, things have been a bit busy around here.  But today, I'm excited to share a card I made using Power Poppy's new Digital image La Vie en Rose.  It's a stunning rose with exquisite detail, and it's laying on top of a sweet tag.  It comes with a couple of darling sentiments too.

Did you see the inspirational projects the Power Poppy Instant Gardners shared yesterday?  Oh, my goodness!!  Talk about a lineup of talent.  Boy can those gals color!!  Seriously!!

I colored a bit differently today; at least in a way I've never tried before.  I usually color my image, and then match it to paper.  This time, however, I picked my paper out first, and then tried to color my rose to match it.  No matter what combo I used in red, I couldn't get a deep enough brown tone to match the flower in the paper.  So, each time I colored a petal, I found that if I laid down a base using E57 and then added the reds, it made the whole flower a deeper color.  I was so excited with the results!!  :)

I printed the image twice onto X-Press It Card Stock, and once on two different pieces of Stationer's Desk (Prima) decorative paper.  I colored just one of the blooming roses on the X-Press it paper, and the entire image on the second.  Each was fussy cut, burnished on the back, and layered onto the ivory colored dp.  The "Washi" tape corners were another piece of dp from the Stationer's Desk (Prima) dp stack.  I then added the "Thanks Bunches" sentiment from the Power Poppy Lavender set.

For the background, I added some Cheesecloth, which I sprayed with Tarnished Brass and Vintage Photo Distress Spray Stains to age it a bit. I tore the paper in the corner and added a hinge, and I also added some Seam Binding ribbon.

Here's a close up of the rose so you can see the dimension.  It's popped up with dimensional tape.


That about sums up my project for today.  You really ought to check out the blogs of the following Bloom Brigaders if you haven't already.  Those gals are just plum full of inspiration, I tell ya!!
Copics:  E35, R59, R46, R27, R14, R02, G99, G94, G24, YG01, E31, E57, 0

Thank you so much for dropping by.  I hope you have a lovely weekend!!

  Happy Stamping!
________________________________________________________________

StampsLa Vie en Rose and Lavender (Power Poppy)
Paper:  Stationer's Desk (Prima), X-Press It Blending, Black (PTI), Red (AC)
Ink:  Onyx Black (Versafine), Vintage Photo, Black Soot (Ranger Distress)
Accessories:  A2 Fancy Ribbon Threader (Spellbinders), Copics, Cheesecloth, Seam Binding Ribbon, Sequins (Pretty Pink Posh and A Gilded Life), Metal Brad, Metal Dots, Pearl (Reflections), Bronze Pearl Pen (Viva Decor), Tarnished Brass and Vintage Photo Distress Spray Stain (Ranger), Distrezz-it-All (Zutter)

Friday, January 2, 2015

A Sassy New Year!

Happy New Year!! It's 2015, and it's going to take some time for that to sink in. I'm not off to a great start either. I totally blanked on getting my card posted on time today. Not a good sign! 

But I'm excited to share with you my first card of the new year, that I made using a PageMaps Sketch with the Power Poppy image Sassy Succulents. Becky always comes up with creative sketches, and this one is no exception. 


I started by Gold embossing the large Sassy Succulent image, 3 times, onto water color paper.  I then water colored it with only two Tombow colors, a green (192) and purple (636).  I then diecut it into about 19 pieces using the smallest Hexagon die by Spellbinders, and arranged it according to the sketch on black card stock.  Lastly, I embossed the sentiment in Gold.  Oh, I also outlined each piece with a Gold Leafing Pen (Krylon).

4 of the pieces are popped up with Dimensional Tape to give it a bit of depth.  Here's a close-up picture so you can see a couple of them.


That about sums up my card today!  If you haven't already, be sure to check out what these talented Bloom Brigaders have to share!
We're continuing our Power Poppy of the Week Challenge again this year, and would love to see what you come up with.  Click HERE for all the details!

  Happy Stamping!

Related Posts Plugin for WordPress, Blogger...
 
Site Design By Designer Blogs